- (336) 250-2575 Mon - Sat 8.00/18.00
- [email protected]
For most doing electrical work can seem daunting and at times even frightful. Although there are dangers in any home improvement project some can be very trivial. In this DIY: How to Install a Light Fixture we look at a very modest project that you can do in your home.
This is a small list of tools we believe will make it safer and easier to install a light fixture.
Step 1: Shut Off the Power
This may seem like an obvious thing but it is very important. This is why we have a Voltage Detector to ensure the power is off. Make sure you go to the Electric Panel and shut off power at the breaker. Once that is done you should use the Voltage Detector to verify power is off, it will have a warning sign when power is detected.
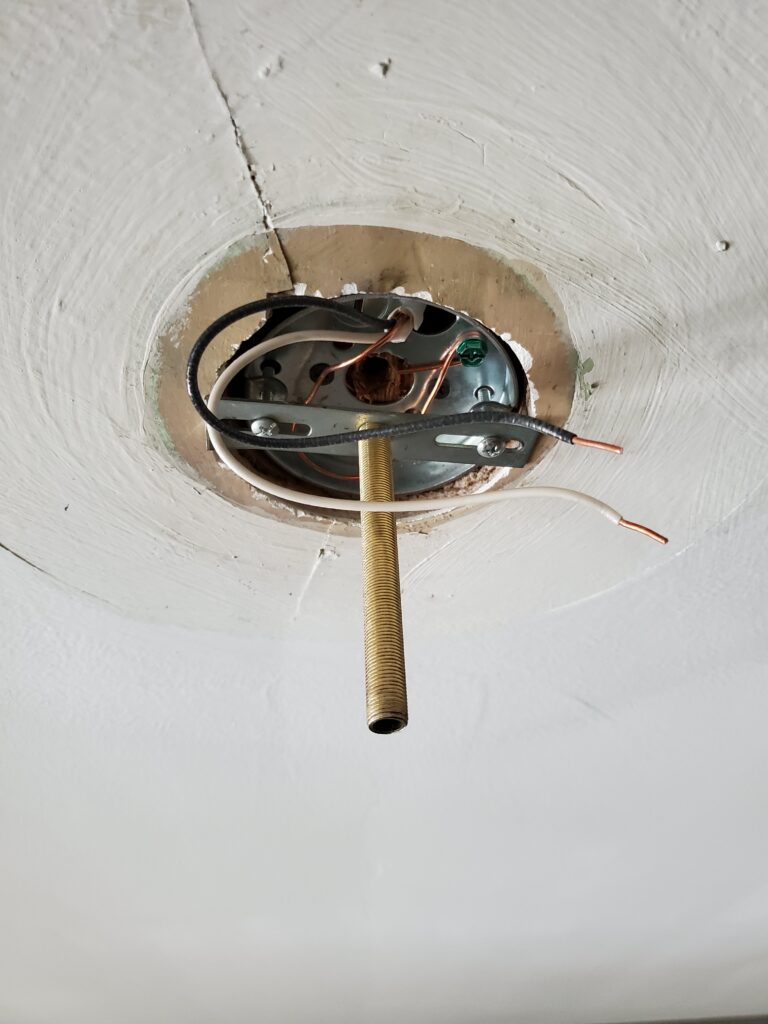
Step 2: Connect Wires

Ensure the box like the one shown here is secure and adequate for a light fixture. It should also have three wires coming from it, black (current), white (neutral, copper (ground).
Most fixtures will come with a plate that will attach with two screws to the box, this will support the light fixture to the box. Make sure you use the Wire Strippers to expose about an inch of the copper.
In this case the wires connect with the corresponding connections to the light fixture. Most light fixtures will have black/red wires that will connect to the black one from the box. Also a white connection to the white and a copper or green wire to the ground connection mentioned above. You will simply use Wire Nuts to connect the wires together.
** On a special note, older light fixtures do not come with a colored system. Instead you must feel the cords on the light fixture. Those cords with a smooth surface are the Hot or Black and a rough service is the Neutral or White.
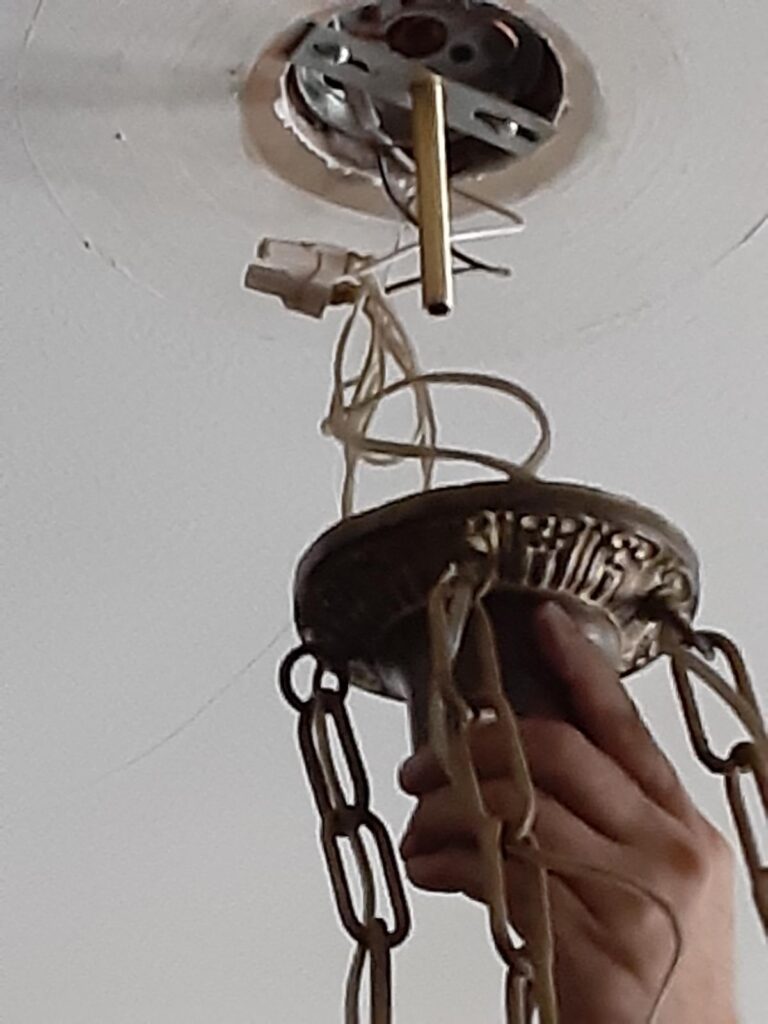
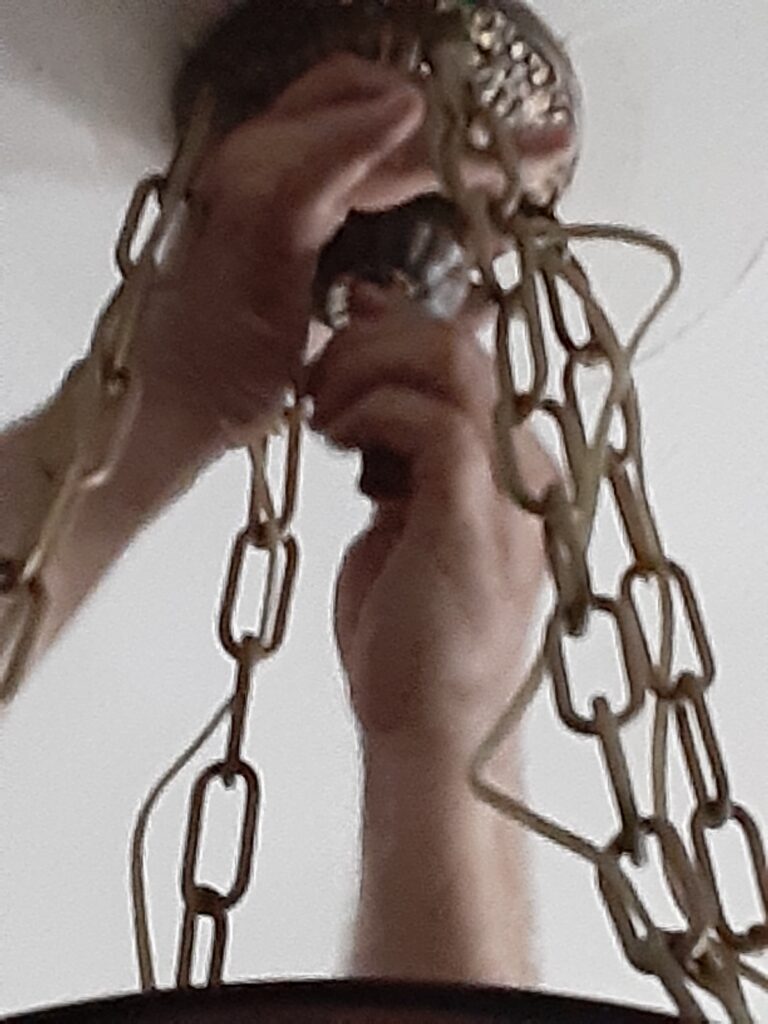
Step 3: Attach the fixture
Some fixtures are different are therefore this part can change. The simple pull chain light fixtures simply have two screws to attach to the box. The light fixtures with a plate as shown here can have screws as well as a center rod to tighten and attach to the box.
Once the light fixture is in place insert the light bulbs. Turn on the breaker and test the light fixture. If all went as planned you should have light. Enjoy your new light fixture.
If you need assistance and need a professional let us know, we are here to help you in your home upgrades and electrical needs.
Electrical Contractor serving Rowan County: Salisbury, Spencer, East Spencer, Landis, Faith, China Grove, Rockwell, Granite Quarry and Cleveland NC.