Comments Off on DIY How to Install a GFCI Outlet
DIY How to Install a GFCI Outlet
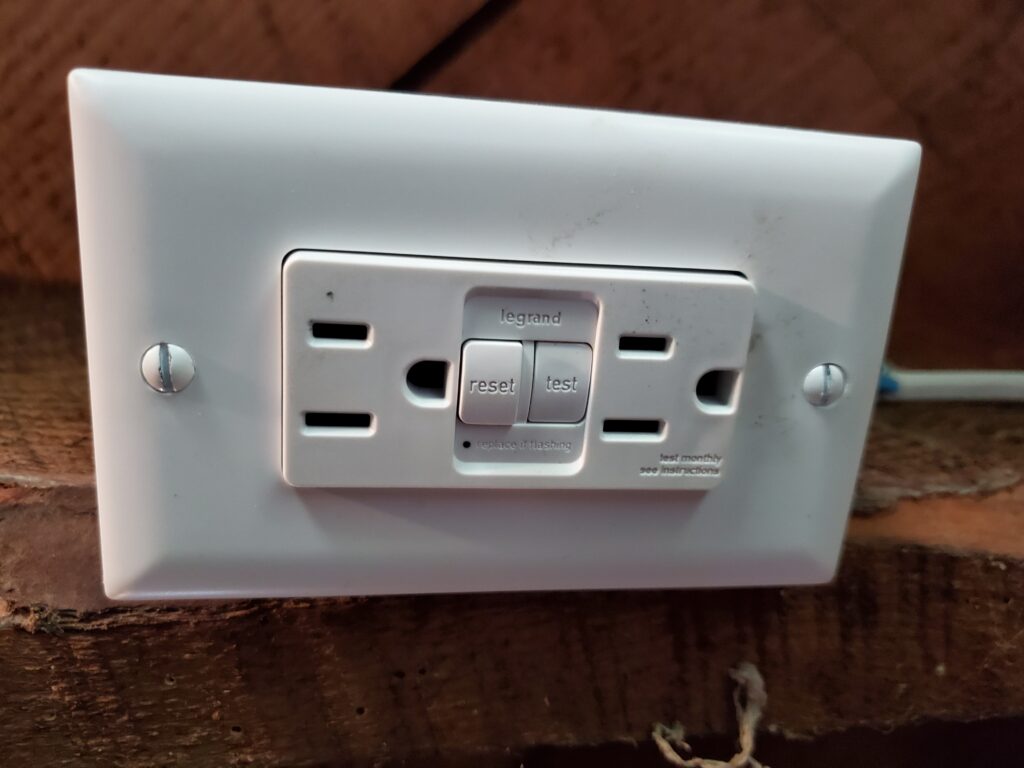
Lets take a look at this DIY how to install a GFCI Outlet. The National Electrical Code (NEC) requires a GFCI Outlet in all wet or damp locations. For your home to be up to code, a working GFCI outlets must be installed in your bathrooms, kitchens and laundry rooms.
As a safety and quality of life tip: Do not use a GFCI outlet on a refrigerator or freezer. If the outlet trips for whatever reason you won’t know.
Necessary Tools to Install a GFCI Outlet
This is a small list of tools we believe will make it safer and easier to install a GFCI Outlet.
- Voltage Detector: This should be a must in all electrical jobs. This will ensure that you shut off the power to the area you will be working on.
- Wire Strippers: Exposing the copper on the wires without damaging the integrity is essential if you want to be safe.
- Screwdriver: The old faithful screwdriver should be part of any home, have a flat head and a Phillips handy.
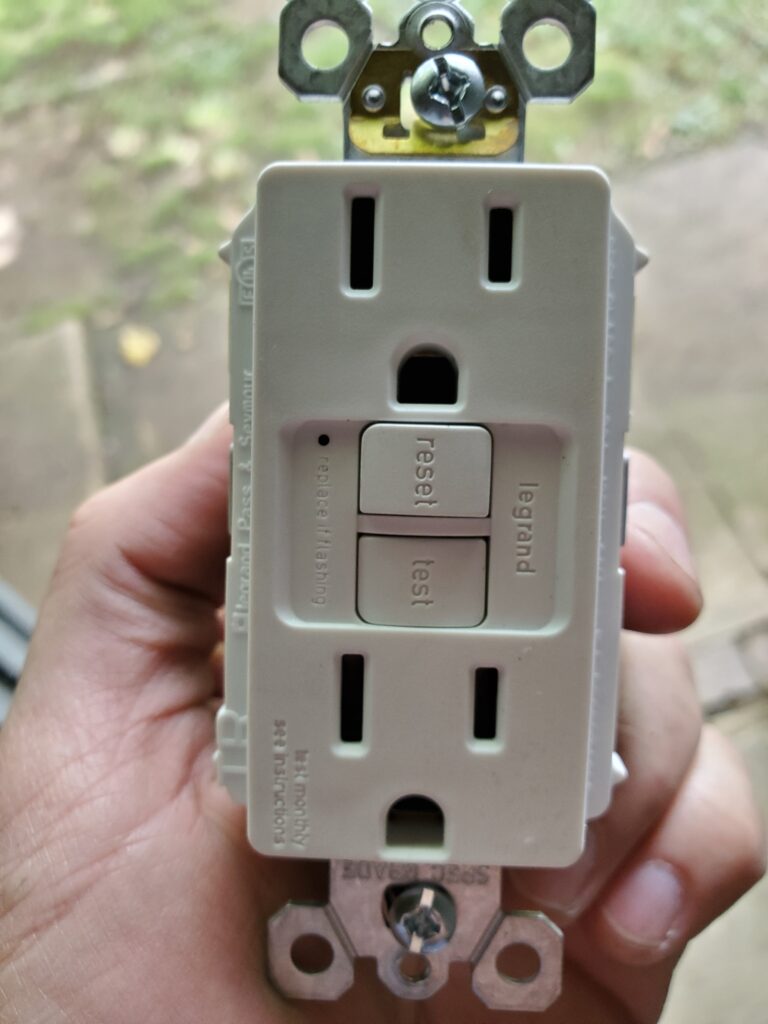
- GFCI Outlet: There are two kinds a Weather Resistant for outside and Tamper Resistant for inside.
- Work Light: Unlike a flashlight a work light can be set and angled where you need to have light.
- Wire Nuts: This can come in handy if you need to trouble shoot wires or extend connection due to length.
Step 1: Shut Off Power
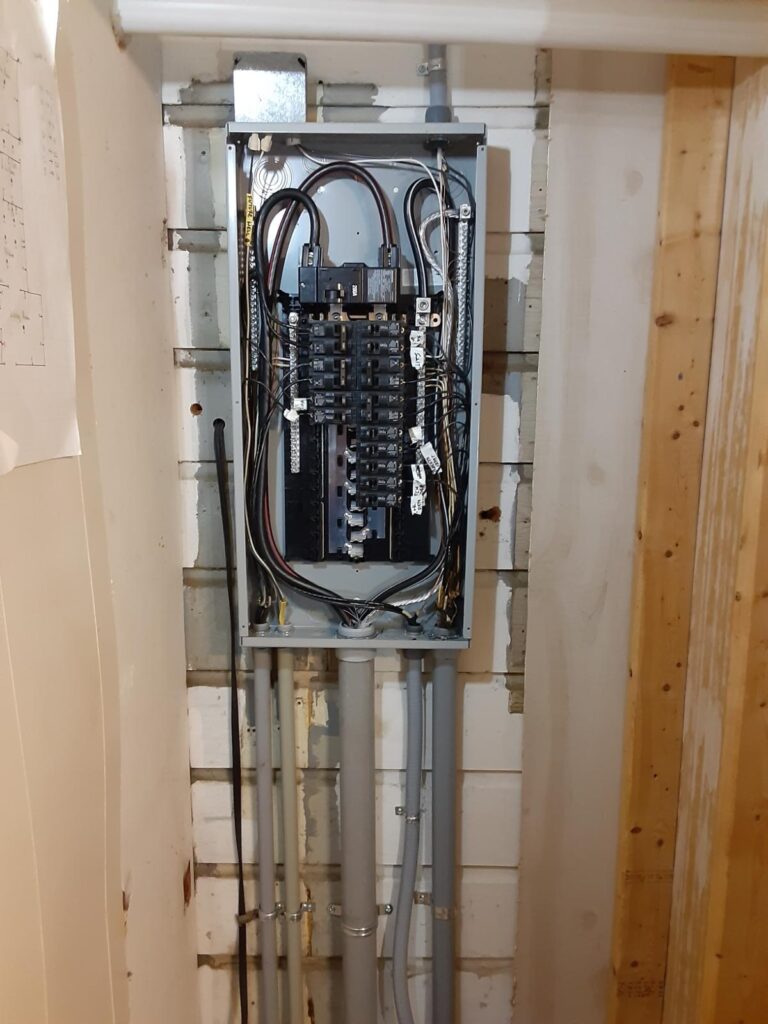
It is important to shut the power off at the panel box of the area you are working in. You can use the Voltage Detector to ensure that there is no power going to the outlet.
Step 2: Remove existing outlet
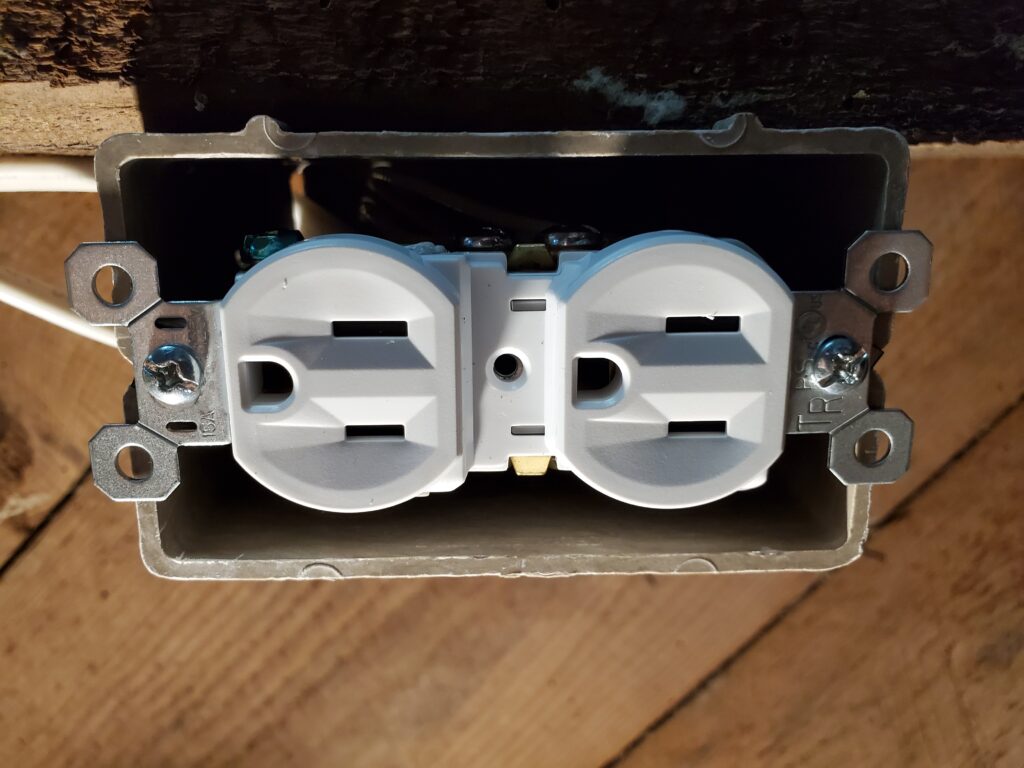
- Use a Screwdriver to remove the decorative plate.
- Take out the screws and pull the switch out of wall or box.
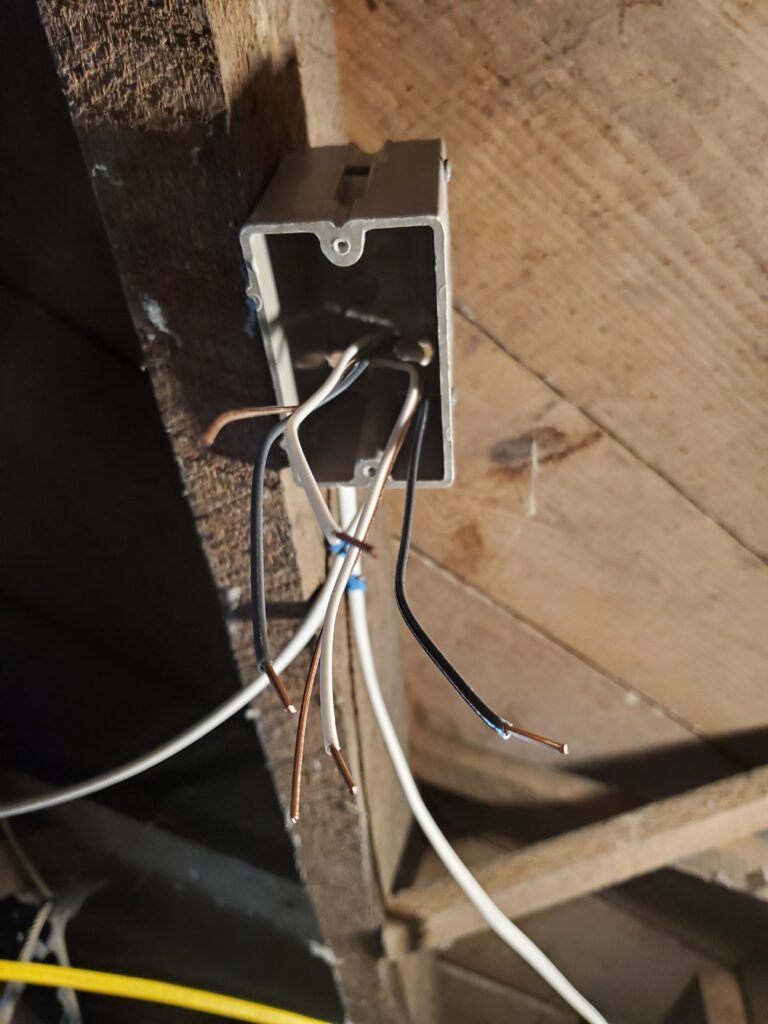
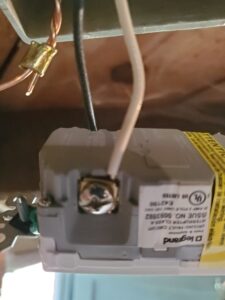
- If replacing an old or damaged GFCI Outlet, label the black and white wires on the Line and Load side.
- Disconnect or cut the wires from the existing outlet if there is one, ensure you have enough wire left to attach to GFCI Outlet.
- Ensure all wires are straight and clean and not bent. Use the Wire Strippers if necessary.
- Using Wire Strippers remove the wire insulation leaving about 3/4-inch of the copper showing.
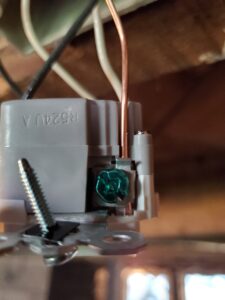
Step 3: Identify Line Wires
- Pull the wires out and separate them so they cannot touch each other.
- Turn power on.
- Using Voltage Detector touch the black wire, when the detector lights up it will be Line. Ensure you pare the white wire that corresponds with that black wire.
- Remember that the gold colored side is for black wires and the silver side is for the white wires.
- Turn power off.
Step 4: Connect the Wires
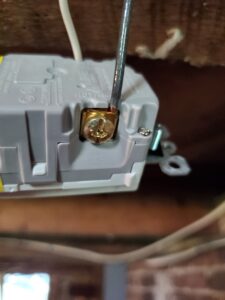
- Connect the black Line wire to the gold screw marked Line by inserting the wire into the back-wire hole. Tighten the screw.
- Connect the white Line neutral wire to the silver screw marked Line by inserting the wire into the back-wire hole. Tighten the screw.
- If the outlet box has four wires plus a ground, connect the second black wire to the brass terminal marked Load and the second white wire to the silver terminal marked Load.
- Connect the ground wire to the green ground screw by inserting the wire into the back-wire hole and tighten the terminal screw. If there are multiple ground wires, connect them together with a copper pigtail, secure with a wire nut and attach the loose end of the pigtail to the green ground screw.
- Always attach black to black and white to white.
Step 5: Place GFCI in the Wall Box
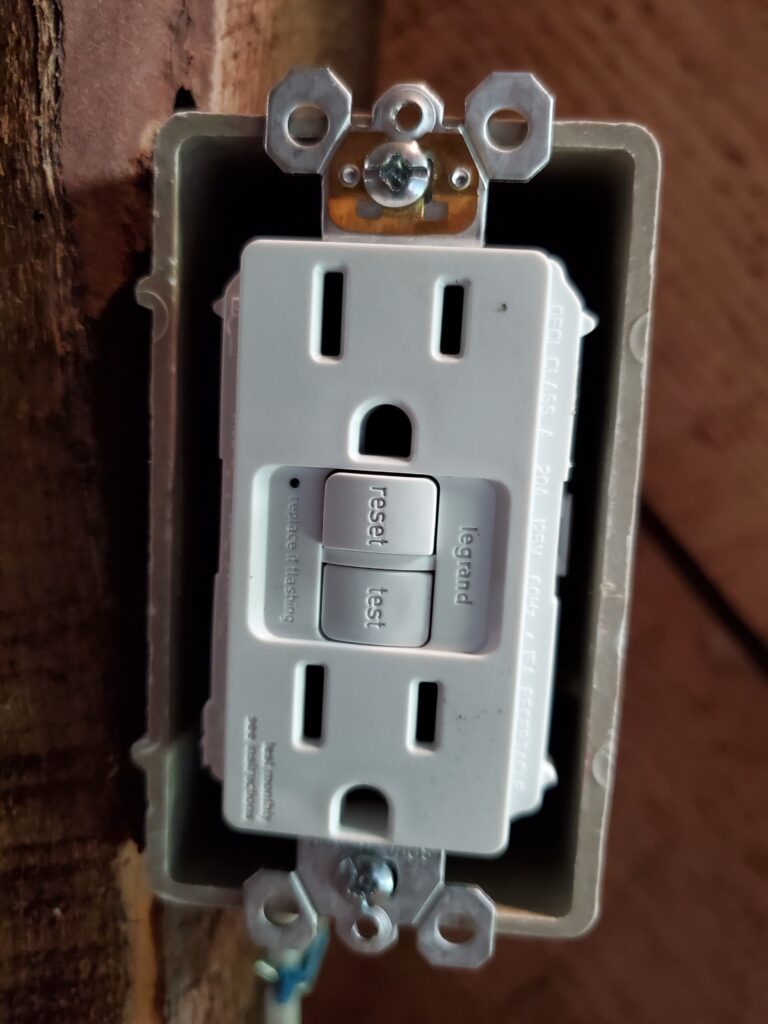
- Carefully bend the wires and push the GFCI into the wall box.
- Tighten the mounting screws to secure the GFCI to the wall box.
Step 6: Cover with the Wall Plate
- Install wall plate.
- Restore power.
- Press the RESET button on the GFCI.
Electrical Contractor serving Rowan County: Salisbury, Spencer, East Spencer, Landis, Faith, China Grove, Rockwell, Granite Quarry and Cleveland NC.